Lesson 6 - Animations, Hyperlinks and Digital stories
Animations
Animations are easy to use in PowerPoint, but there are a few tricks that you can use to make your presentation a little bit more interesting.NOTE: Don't get too carried away. Less is More is my motto when it comes to PowerPoint and animations.
Simple Animations
I am not going to spend too much time here as I will assume that you know how to apply some basic animations to your presentation. You can animate any item on a slide and have full control about how the item is animated. The below example is animation of a bullet list.When applying animations, you can choose the way an item comes onto the screen (Entrance/Green), how it behaves while on the screen (emphasis/Amber), and how it leaves the screen (exit/red).


Let's see how this works with a chart.


Using Hyperlinks
Hyperlinks can be used to control the order in which the slides appear or to enhance or provide more information about a topic on a slide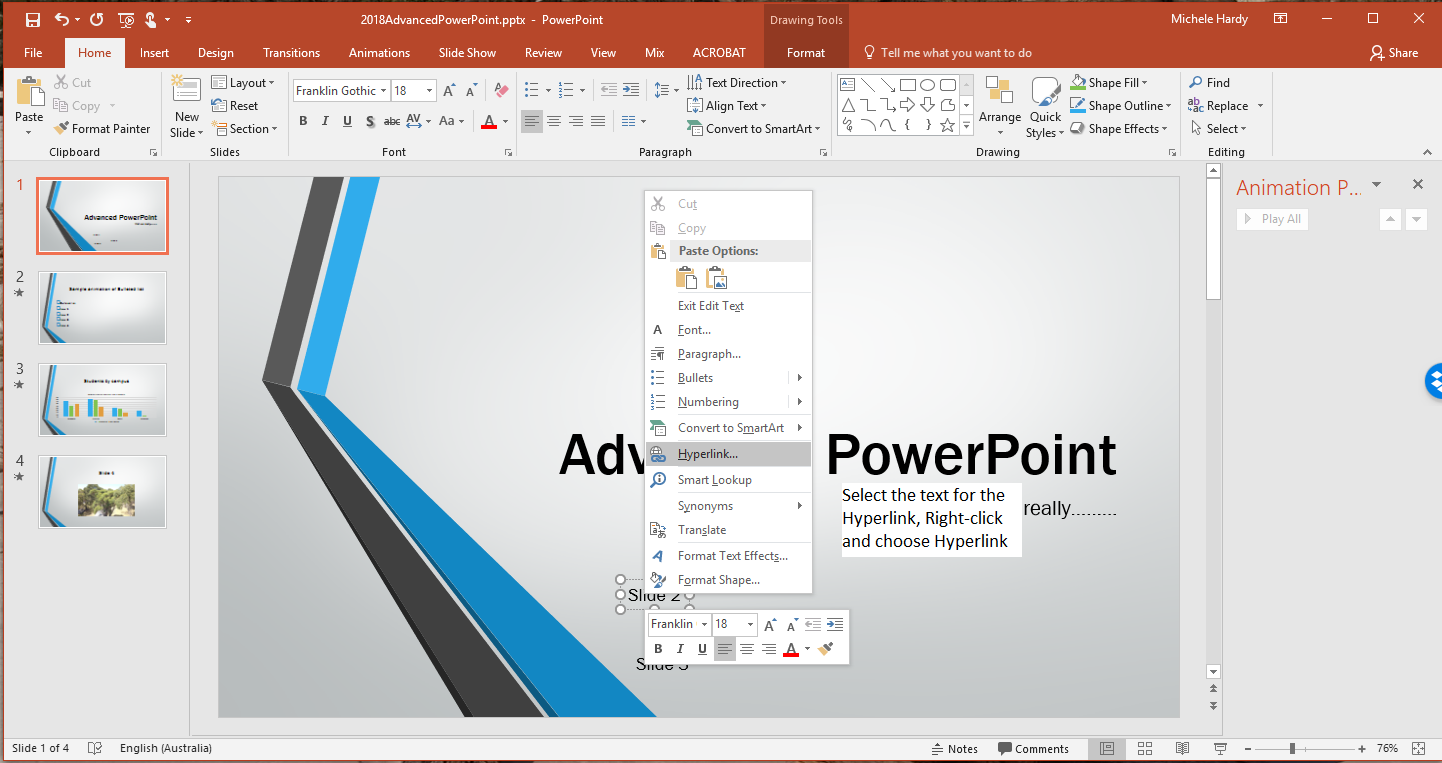

Here is an example using hyperlinks and images.
I created a bullet list of animals to start with

I then inserted hyperlinks for each animal that takes the user to that slide.

You can then run the slide show and select the slides that you want to display by clicking on each animal in the list. I put a "back" button that when clicked took the user back to the list. I copy/pasted this link onto each of the animal pages.
Zoom
Zoom in PowerPoint (not the same Zoom as we are currently using for classes) is similar to hyperlinks. It allows you to create a "Summary" slide that displays the first slide for each section. Using the same presentation as before, I created a summary slide.

For the Dog section, I have an additional slide after the photo that has text on it. When you click on the Dog image in the summary, PowerPoint will move to the Dog slide. Mouse click to progress to the next slide in that section and you will get the description slide. Click again and PowerPoint will return to the Zoom summary slide. Using Zoom is a different way of presenting and you can branch in any order by clicking on the summary slide image. You will always return here after that section. I also applied a simple design theme to the presentation.

My suggestion is to have a play - it gives you a lot more control over your presentation.
Presenting your Slideshow
There are also some interesting options for presenting your slide show. Usually, you would present it in person, but you can also opt to present it online (Share) or even save it as a video and upload it to YouTube.
Presenter Mode
Presenter mode can be used if you have 2 screen attached to your computer. In most presentation venues, this is available via a large screen or a projector.I have 2 monitors attached to my computer, so this is what my 2 screens look like in presenter view.

Creating a Digital story using Animations
You can apply animation to text, images, objects etc. Each object can have an entrance, emphasis and exit. Try creating an animation to tell a short story.I am not particularly creative, but you can view my "On the Farm" short story for "inspiration". This was created using 7 slides with animation, transitions and timings increased. It was then exported out as a video. You can create a digital story using just one slide, but it can make the slide look messy.
Note: Images were from Pixabay - vector images saved as PNG files with transparent background.
Using my "On The Farm" example, I will break down the steps to create the story.
Step 1 - Get your images
I used Pixabay for the above sample. Think of a story that you would like to tell. Find a background that you like - I went for a vector graphic background rather than a photo, but it is entirely up to you. Once you have your background, find your character images and any sound effects that you might need.

Step 2 - Set up your background
Start a new presentation using a blank slide layout and add your background. Depending on how you want your story to run, you can duplicate the slide a few times now. If you want your story to be cumulative, duplicate each slide as the previous one is finished.

Step 3 - Design your page
Add some text and your first image to the slide. I added my bush scene, some text, my animal image, and a description. Make sure that your pages are in order. I accidentally put mine on the last slide so I just simply moved the slide to the top. I also used the "remove background" option to make my images look a little nicer on the page.


Step 4 - Animate!
When you are happy with your slide, you can animate the elements to tell your story. Have your heading, image and description (in my case as it is my story) and play with the timings and the start. Make sure that you have nothing that is set to "on mouse click" and that everything relies on timings. Use Preview to see what your page looks like and try running your presentation. I used the transition "page curl" to simulate a book.


Step 5 - Narrate
Depending on the version of PowerPoint that you are using, you can use the Slide Show ribbon or there may be a separate Recording ribbon. Use the Record Slide Show button to open up the recording options.
Click on the record button and after the countdown, you can start your narration! When you have completed your talking, click on the stop button and you will the audio icon appear on your slide. This will play when you run the slide show.


Step 6 - Save as Video
The final step is to save your presentation as a video. Make sure that you have run the slideshow a few times and are happy with the narrations and timings.

Assessment Task 1
Create your own PowerPoint Theme for a fictitious library or if you don't have one, for Mysty River Regional Library Services.Create a Template/Theme that is suitable for your organisation
Full details available in the Assessment Guide
Assessment Task 2
Create a digital Story using PowerPoint. Your story should have suitable images to set the scene, Text to tell the story, and animation to make the story flow. Add audio and/or Narration to tell the story.


Comments
Post a Comment